How to Add Google Maps to Your Website: A Step-by-Step Guide for Small Businesses
webceke

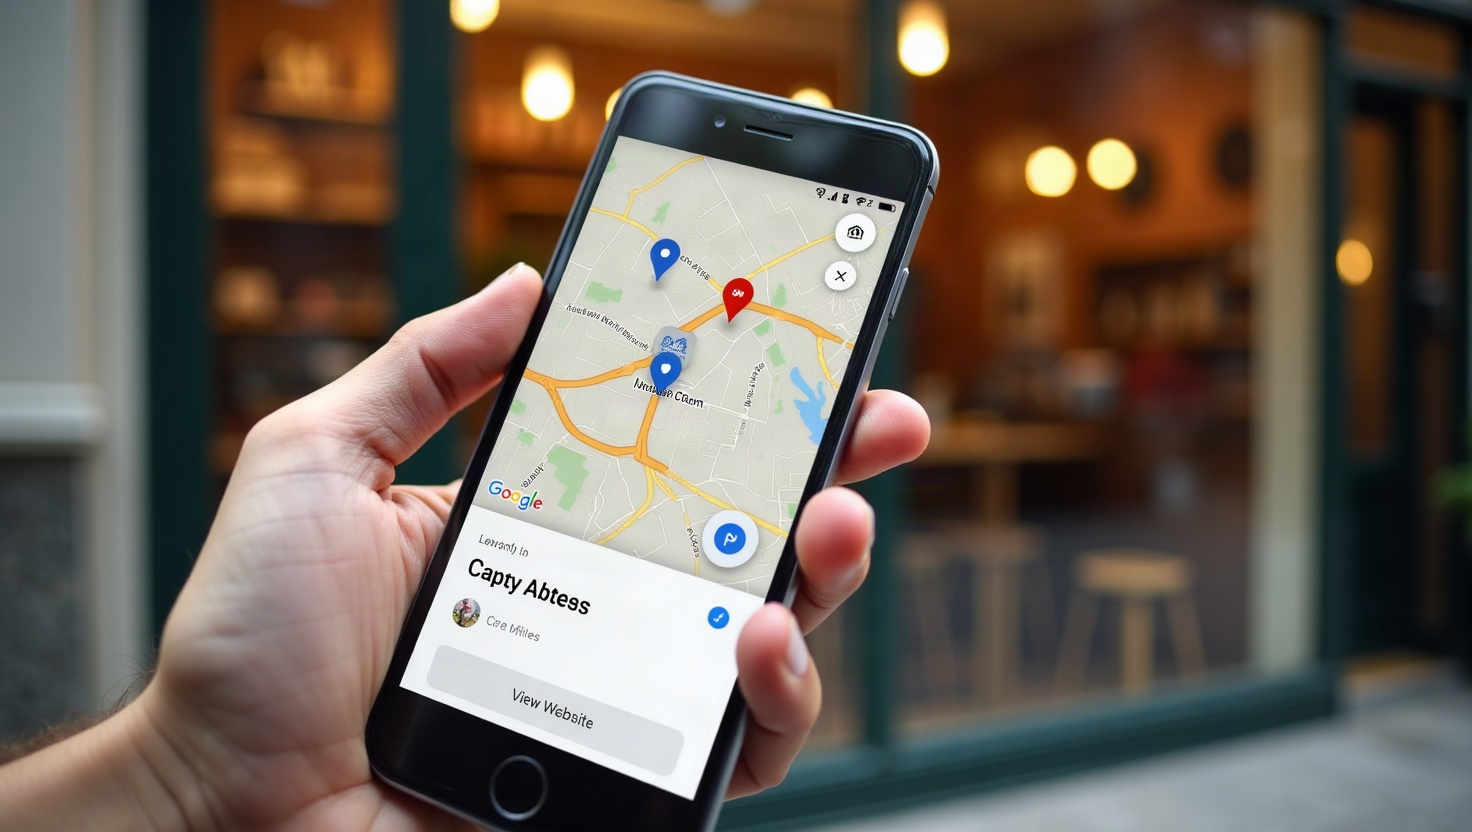
Adding a Google Map to your website is one of the simplest yet most powerful ways to build trust with local customers and improve your local search rankings. With an AI website builder like webceke, you can embed a fully interactive map in minutes—no coding required. Here’s exactly how to do it, where to place it, and why it matters for your local SEO.
Why Embedding Google Maps Matters for Local SEO
When someone searches for your business name or a local service, Google’s local pack (the map with three listings) is prime real estate. Embedding a Google Map on your site signals to Google that you have a physical location, which strengthens your local relevance. It also:
- Builds user trust – Visitors see exactly where you are, reducing hesitation about visiting.
- Improves user experience – One-click directions save customers time and frustration.
- Boosts local pack visibility – Google rewards sites that provide consistent, clear location data.
Plus, a map on your contact page gives search engines another clear signal of your NAP (Name, Address, Phone), which is a core ranking factor for local searches.
Step 1: Generate Your Google Maps Embed Code
First, you need the embed code from Google Maps. Here’s how:
- Open Google Maps and search for your business address.
- Click the “Share” button (the arrow icon) in the left panel.
- In the pop-up, switch to the “Embed a map” tab.
- You’ll see a preview and an HTML iframe code. Copy that code.
That iframe contains your location’s coordinates and zoom level. You can adjust the width and height later, but the default is usually fine for most websites.
Step 2: Add the Map to Your AI Website Builder
With webceke, adding the map is drag-and-drop easy:
- Log in to your webceke dashboard and open the page where you want the map (e.g., Contact, About, or Locations).
- Look for an “Embed” or “HTML” block in the builder’s elements panel.
- Paste the iframe code into the block.
- Adjust the size by editing the iframe’s
widthandheightattributes (e.g., setwidth="100%"for responsive scaling). - Save and publish.
The map will render live, and visitors can zoom, pan, or click “Directions” without leaving your site.
Step 3: Choose the Best Placement for Maximum Impact
Where you put the map matters as much as having it. Here are the best spots:
- Contact page – This is the most expected place. Add it near your address and phone number.
- Footer – A small map in the footer appears on every page, reinforcing your location sitewide.
- About or Locations page – If you have multiple branches, create a dedicated locations page with individual maps.
- Homepage – For a local business, a map above the fold can instantly reassure visitors you’re nearby.
Avoid hiding the map behind a click or accordion—let it be visible so both users and search engines see it clearly.
Step 4: Customize the Map for a Seamless Customer Journey
A default embed works, but you can make it even more customer-friendly:
- Set a sensible zoom level – Too close and users can’t see surrounding landmarks; too far and they lose context. Test on mobile.
- Link your Google Business Profile – In your embed code, you can add a
&output=embedparameter, but better yet, place a “Get Directions” button right below the map that opens your Google Maps listing. This creates a direct path to your GBP, which can improve your profile’s engagement metrics. - Use a custom map style – Some builders allow you to tweak colors, but keep it recognizable. Don’t sacrifice usability for aesthetics.
- Ensure mobile responsiveness – Always set the iframe width to 100% and use a container that scales on small screens.
If you’re using webceke, you can also add a simple text link like “Open in Google Maps” under the embed, which is a nice touch for mobile users.
Step 5: Test and Monitor Performance
After publishing, test the map on desktop and mobile:
- Click the map to make sure the pin drops correctly.
- Try the “Directions” link to confirm it opens Google Maps with your address prefilled.
- Check your site’s load speed—maps can slow pages if not optimized. Use lazy loading if your builder supports it.
Also, keep your Google Business Profile updated. If you move or change hours, update both your profile and your website’s map embed to avoid confusing customers.
Ready to Boost Your Local Presence?
Embedding Google Maps is a small change with big local SEO benefits. It builds trust, improves user experience, and helps you appear in the local pack. With an AI website builder like webceke, you can add a map in minutes, even if you’ve never touched code. Try webceke today and create a polished, location-focused website that turns visitors into customers.