The Website Launch Checklist Every Small Business Needs Before Going Live
webceke
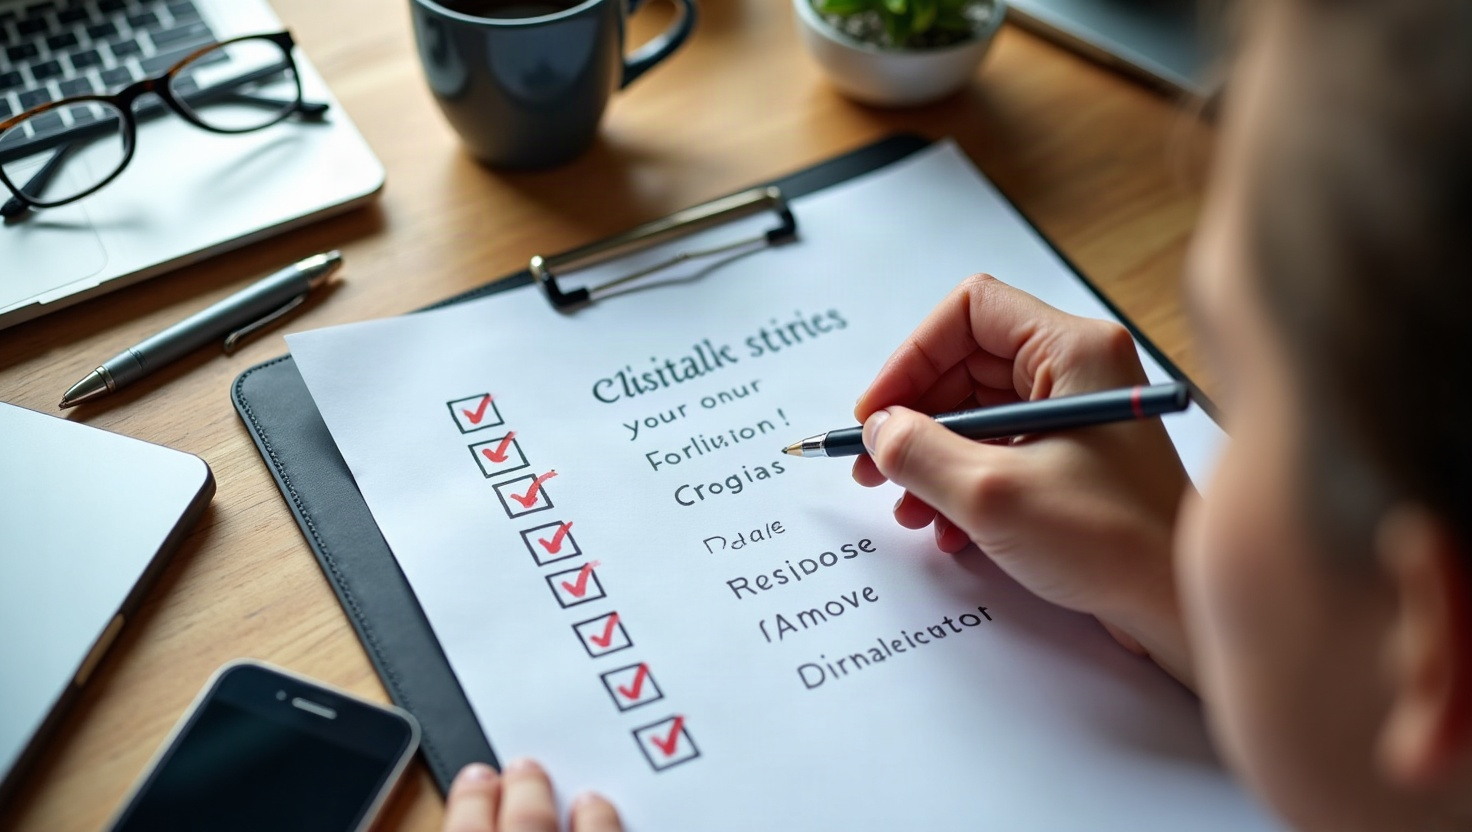
You've just finished building your website with an AI website builder like webceke. It looks great, but now you're staring at the publish button, wondering if it's really safe to go live. This website launch checklist will walk you through the essential steps to ensure a smooth launch and a strong start.
Pre-Launch Technical Checks
Before you hit publish, verify these technical details:
- Domain and SSL: Ensure your domain is correctly connected and that SSL (HTTPS) is active. Most builders handle this automatically, but double-check by visiting your site with
https://and looking for the padlock icon. - Mobile rendering: Over half of your visitors will come from mobile devices. Test your site on different screen sizes using your browser's developer tools or by physically checking on your phone and tablet.
- Favicon and page titles: A favicon (the small icon in the browser tab) and unique, descriptive page titles improve user experience and SEO. Make sure they're set for every page.
- Contact form test: Submit a test entry through every form on your site. Confirm that you receive the notification email and that the form data is captured correctly.
- Analytics installation: Install Google Analytics or your preferred analytics tool to track visitor behavior from day one. This data is invaluable for future improvements.
Final Content and SEO Review
Your content is what keeps visitors engaged and helps search engines understand your site.
- Proofread everything: Typos and grammatical errors undermine credibility. Read through each page aloud or use a tool to catch mistakes.
- Check links: Broken links frustrate users and hurt SEO. Use a free broken link checker tool to scan your site and fix any issues.
- Optimize images: Large images slow down your site. Compress them without losing quality using tools like TinyPNG or Squoosh.
- Set up Google Business Profile: If you have a physical location or serve a specific area, create or claim your Google Business Profile and link it to your website. This boosts local SEO and helps customers find you.
The First 48 Hours After Launch
Once your site is live, the work isn't over. Here's what to do in the first two days:
- Submit your sitemap: In Google Search Console, submit your sitemap (usually at
yourdomain.com/sitemap.xml). This tells Google about all your pages and speeds up indexing. - Monitor form notifications: Keep an eye on your inbox for form submissions. Respond promptly to show you're attentive and to catch any issues early.
- Check for errors: Use Google Search Console to monitor for crawl errors or security issues. Address any warnings immediately.
- Share on social media: Announce your launch on your social channels to drive initial traffic and get feedback.
Safe Changes vs. Risky Changes
In the first few weeks, search engines are crawling and indexing your site. Some changes are safe, while others can disrupt the process.
Safe changes:
- Adding new blog posts or pages
- Updating text content on existing pages
- Adding images or media
- Fixing typos or broken links
Risky changes:
- Changing your domain name (avoid unless absolutely necessary)
- Altering URL structures (can break existing links and require redirects)
- Major redesigns (can confuse search engines and users)
If you must make risky changes, do them gradually and monitor your analytics and search console for any negative impact.
Post-Launch Maintenance
A website isn't a one-time project. Regularly update content, check for broken links, and review analytics to see what's working. With webceke, you can easily make updates without touching code, so your site stays fresh and relevant.
Launching your website is a milestone, but it's just the beginning. By following this website launch checklist, you'll avoid common pitfalls and set your business up for online success. Ready to build and launch your site with confidence? Try webceke today and get your business online in minutes.